Change The Resolution On An IGEL Thin With The Universal Management Suite
When you first turn on the IGEL client the resolution out of the box iss 800 x 600. Obviously this is not high enough. Most people will want to customise the resolution to be based on the monitors that the IGEL thin clients are connected to. This can be done with the IGEL Universal Management Suite installation. There is also a video guide at the end of the article.
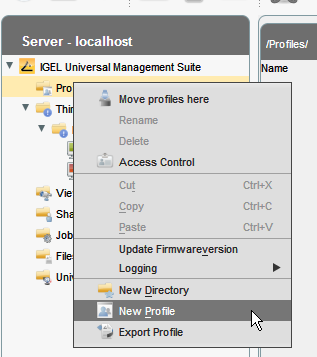
To do this we need to create a profile in the Universal Management Studio that handles the screen resolution. To do this select profiles then right click. Then browse down to New Profile.
Give the profile a suitable name and description so you it is easy to manage in the future. Once done click OK to continue.
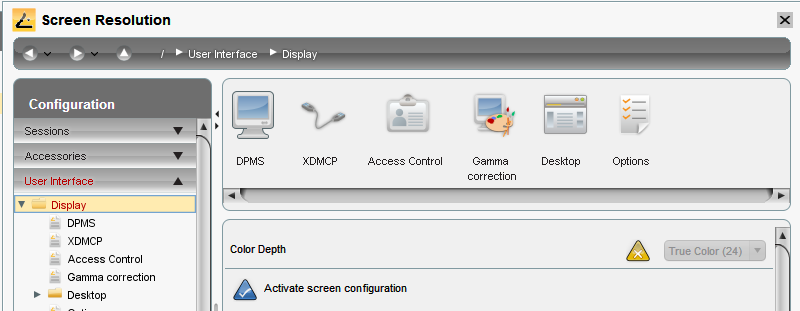
When the edit profile screen appears, browse down to User Interface then Display.Once done, on the right hand side select Activate Screen Resolution.
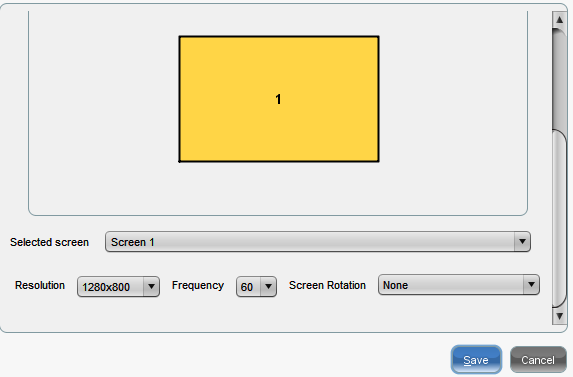
On the right hand side, now scroll down to the bottom of the edit profile screen. You can now specify the resolution that you would like your IGEL thin clients to run at. Select the resolution and select Save.
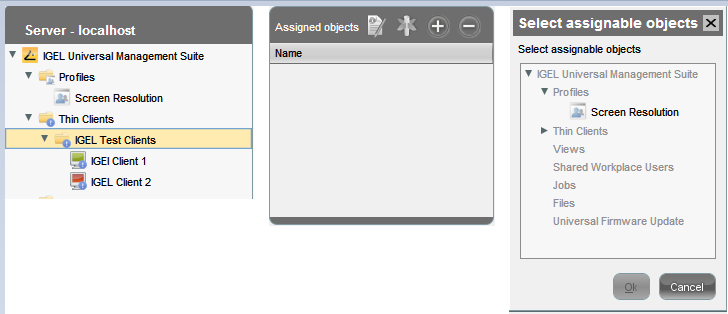
Now, select the folder your thin clients are stored in if you have not scanned in your clients read this article. Then on the right hand side select assignable objects and click +. Once open, browse to profiles and select the profile you created to manage the resolution. Once done click OK.
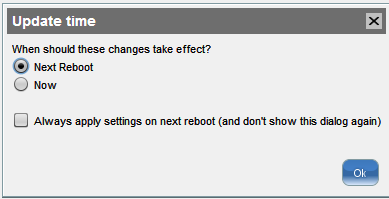
The next option is selecting when the update will be applied to the IGEL thin clients, select what is best for yourself and continue.
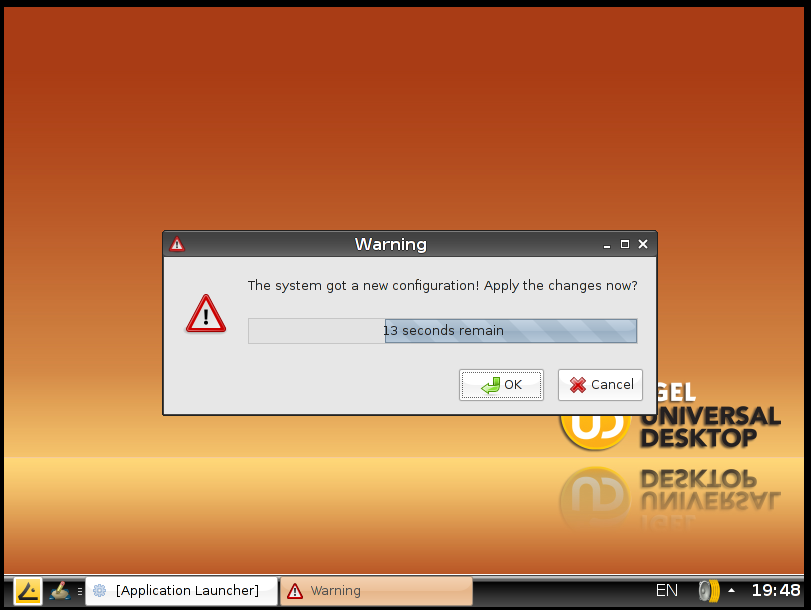
The update will apply to the IGEL thin client and you are now complete.
Watch this step by step video to setting up a profile in the IGEL Universal Management Suite to manage screen resolution
Tags: UMS


