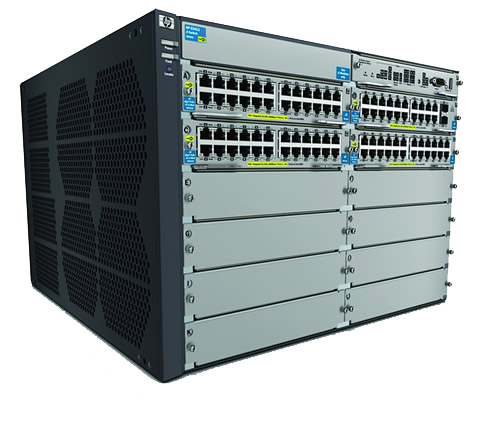
Below you wll find the basic steps on creating and configuring VLANs on the HP procurve E-series. This will involve, creation, tagging and applying an address to the VLAN.
So presuming you have logged into the e-series switch as manager you should be at the switch prompt
SwitchName#
We now first of all will create a VLAN, this is a simple task using the VLAN command, so now enter VLAN then the number of the VLAN you want to create, remember VLAN 1 is created by default on the e-series so anything bar that. For example enter the below.
VLAN 10
Your context will now show as follows as you have created vlan 10.The switch hostname then the vlan , 10 in this case. For example
SwitchName(vlan10)#
Now we are ready to tag or untag ports on the switch to this VLAN. Remember s standard port can have only 1 untagged port but multiple tagged ports.
To TAG port 5 port to VLAN 10 we would enter the following.
tag 5
To tag multiple ports at once we enter
tag 5 10 15 20
This would add 5,10,15 and 20 to VLAN 10.
To untag a port it is as simple.Simply use the untag command.
untag 5
That would set port 5 to untagged on vlan 10.
On the e-series switches, you need to apply an ip address to VLANs.So lets say VLAN 10 was for printers, this would be the printers subnet. You will still be in the context as below.
SwitchName(vlan10)#
We will now apply an ip address as below
ip address 10.5.1.1/24
VLAN 10 now has that IP applied to it. So now your ports are tagged or untagged to the vlan and have a valid IP. Once you have configured your VLANS and IP`s on your switch we can check the config with the following commands.
Show vlans
This command simply shows all the VLANs configured on the switch.
show vlans 10
This shows what ports are members of vlan 10
show vlans port 5
This command would show what vlans that port 5 is a member of.
show ip
This command shows IP information that is applied to interfaces.
Read this f you want to allow dhcp over your vlans.
