
Exchange 2013 / 2016 Add A Disclaimer
In this guide we will add a disclaimer message to all outgoing mail that leaves the Exchange 2013 / Exchange 2016 organization This guide also applies to Office 365. In previous Exchange versions this was done with a transport rule, Exchange 2013 and Exchange 2016 are not to different, we use the rules tab under Mail Flow.
Create A Disclaimer In Exchange 2013 and 2016
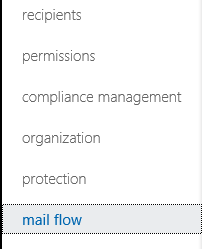
As normal we must first log in to the Exchange 2013 Admin Center, then on the left hand menu browse down to Mail Flow.
We must then select the first option that is Rules as seen below, we then click the + sign to create a new rule.
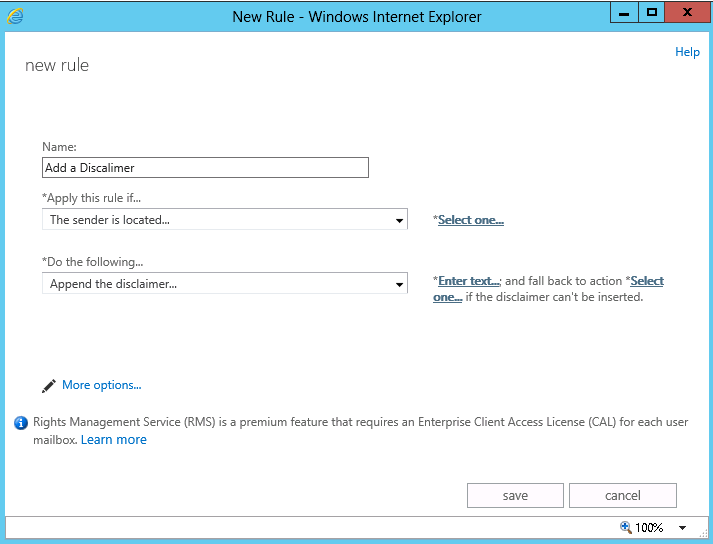
You will now see the add rule wizard. We will be creating a disclaimer rule. Give the new rule a valid name and select apply this rule if – The sender is located.
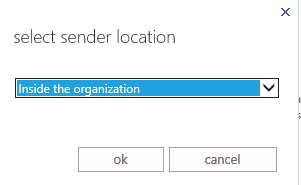
The select option will now appear, we need to choose Inside the organization so that every person with a mailbox has this rule applied
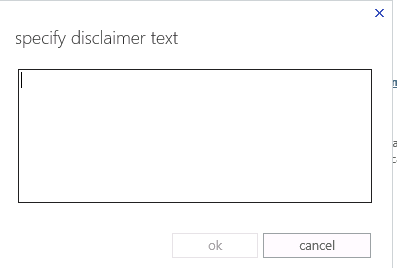
Under Do The Following, select append the disclaimer.You now get the option to enter your disclaimer as seen below.
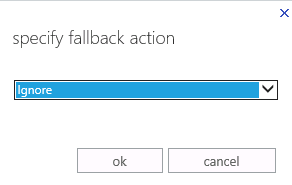
On the callback option we specify that the rule is ignored or dropped if Exchange 2013 cannot apply the rule to the outgoing email.
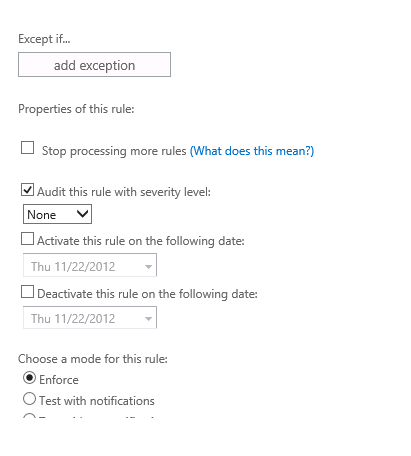
That is the basic Exchange 2013 disclaimer setup.If you were to select more options, then you would see more available options such as a date range where you can specify when the rule starts and ends or you can add exceptions to the rule such as certain users who the rule may not need applying to.
Modify these settings if you require then click save. The Exchange 2013 disclaimer is now created and active. All email what leaves the Exchange organization will now have this disclaimer appended to the end of all emails.
Tags: Disclaimer








Reynaldo Ruiz
| #
How Licensing affect the disclaimer append?
Reply
Allen White
| #
Its not related as far as I know? its just a transport rule.
Reply
praman
| #
Hi,
How can i add an extra line between the disclaimer text?
Pls help.
Reply
Allen White
| #
If its in HTML then the code is  
Reply